(To go back to lesson 5 click here.)
In this lesson (6 of 7) let's look in detail at the most important settings you can customise in your Brand Preset - the 'Brand Settings'.
Brand Settings control the overall look and feel of your branding. The include:
- Logo
- Fonts
- Colours
- Background
To find these, open the Brand Preset Editor by tapping the Presets icon in the top right corner.
![]()
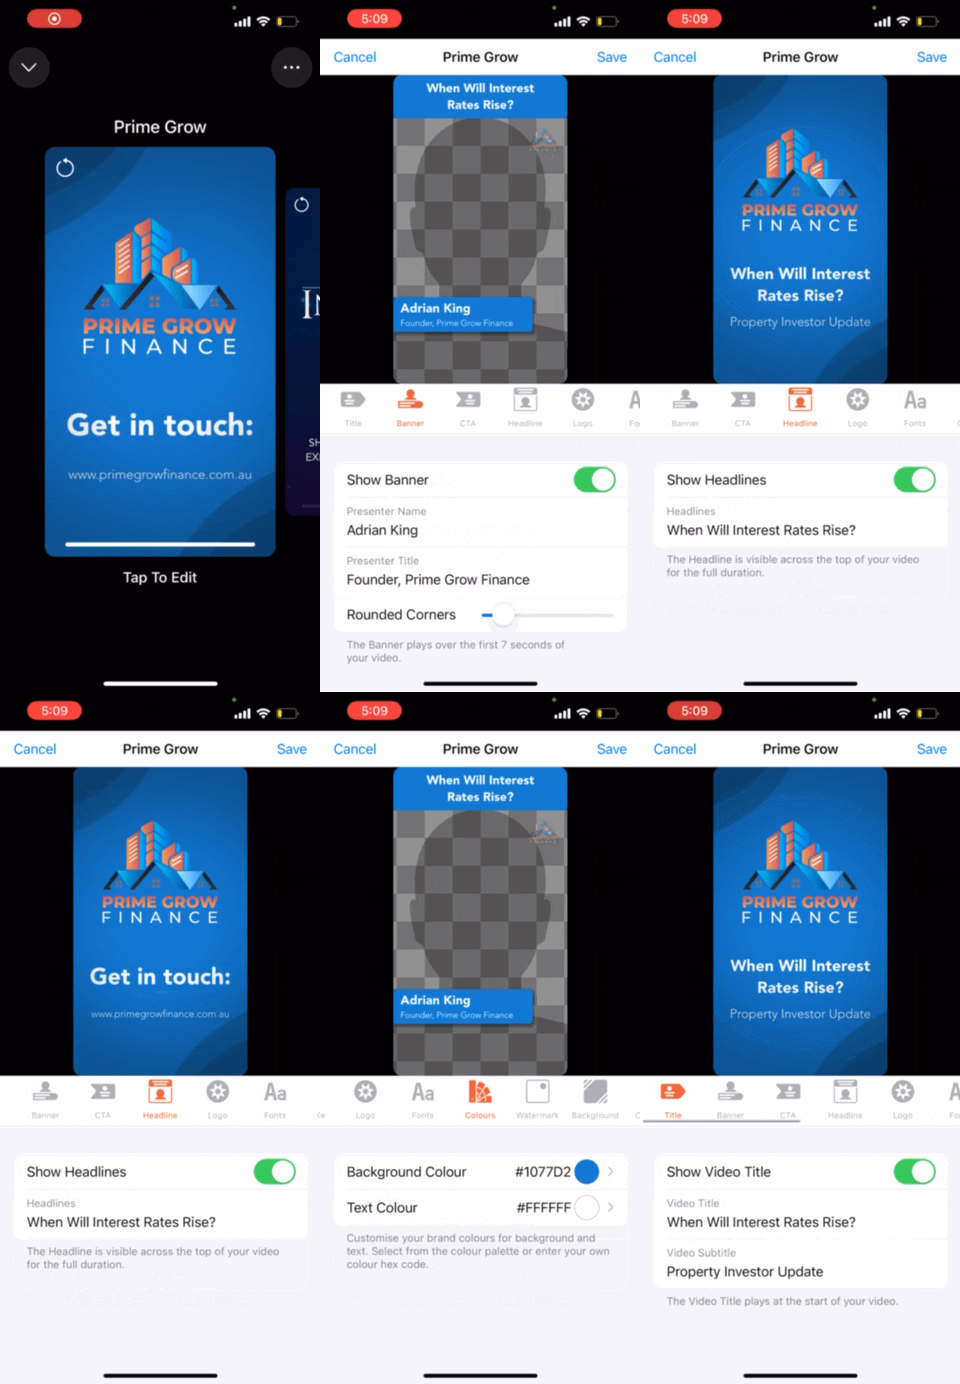
Then tap on the preset you want to edit, then tap and swipe through the icons across the middle of the view to access all the different settings.

To add your logo, tap the light grey checkered square to the right of 'Logo'. You can choose to load your logo from Files (such as iCloud, Dropbox, Google Drive, or others), or from your Photo Gallery.
To choose background and text colours, tap the small colour circle to the right, which will open up a colour picker. Then either choose from one of the colours in the predefined colour swatches, or tap the hex code to enter in the unique hex code of your brand colour. (Hint: Colour hex codes are 6 characters after a # symbol - each code represents a unique colour).
To change your fonts, tap either the Primary or Secondary Font and select from the comprehensive list of available fonts.
Wherever there are two lines of text in a branding section (like Presenter Name and Presenter Title), Brivvio will apply both the Primary and Secondary fonts respectively. You can use the fonts to create a unique look and feel to your branding, or to match your brand font guidelines.
If a plain colour background isn't quite your thing, add a background texture or image. Tap the light grey checkered square to the right of 'Background Texture'. You can choose an image from our built-in texture library, or load your logo from Files (such as iCloud, Dropbox, Google Drive, or others), or from your Photo Gallery.
Adjust the transparency of your background texture so that it doesn't conflict with your logo or text in the foreground, by sliding the Texture Strength slider up or down. You want to be able to see your logo and read the text clearly.
Experiment with your own or our built-in textures, or perhaps your graphic designer can make a texture specifically for your brand.
You can find additional information about the other branding settings in the online knowledge base under the 'Branding' section.
Next Lesson...
The next lesson is the last in this 7 lesson intro series. We'll look at exporting and sharing your video from Brivvio.
Click here to process to Lesson 7/7 (Exporting and sharing your videos)
